Wall Stencils Using Painters Tape
I finally got around to painting my son’s bedroom, playroom, and bathroom. He wanted an ocean theme in the bathroom and my wife wanted a large ocean mural with fish and waves. I, really, just wanted to watch football. Now, I am not really skilled enough to make a great looking, hand drawn mural on the wall. I mean, I could do it, but it may not be recognizable as anything other than splotches of paint. But I am pretty good at working wonders within my limited skill set. And that skill set here include Painters Tape.
Painters tape is unique from other tape in that it sticks to the wall without leaving sticky residue. Some even swell the tiniest amount when wet so that you can mask between colors and get a really clean line on uneven (like drywall) surfaces.
You start off by painting the wall with the background color. Where possible, paint the lighter color first and then use the darker color. In other words, if you want to do a really light image on to a dark background, I would consider paint the light color first, masking off the shape, and then paint the background. This just makes it that much easier to use your stencil without have to add multiple layers of paint. Wait a day or so for it completely dry.
Next, lay out your designs. The goal here is to create a one-use stencils with the tape. Straight line are obviously pretty easy to to do, but curves are absolutely possible if you have a steady hand and a sharp razor blade. You also want to use a wide enough tape to give yourself plenty of room to use your brush without the risk of getting paint where you did not want too.
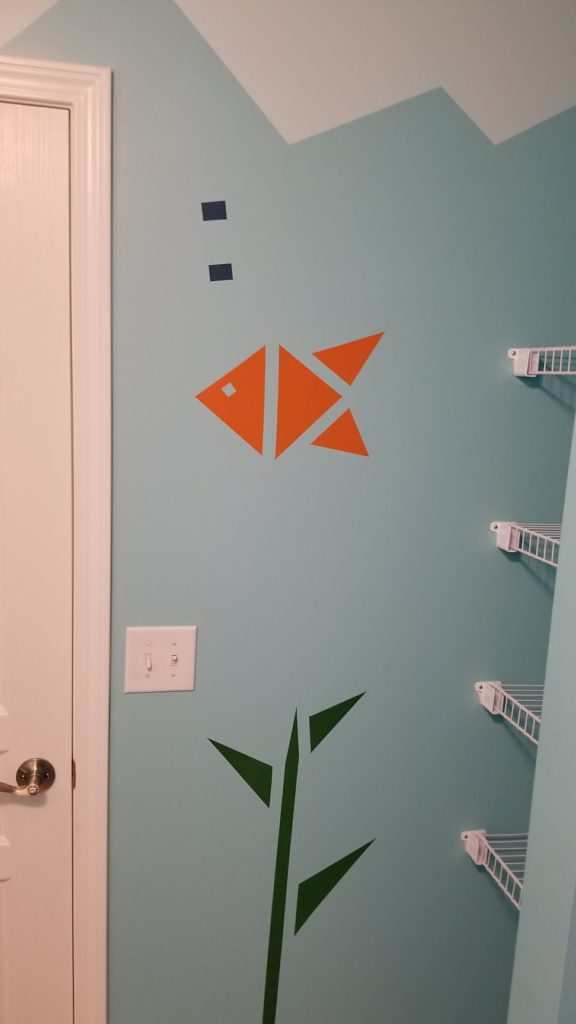
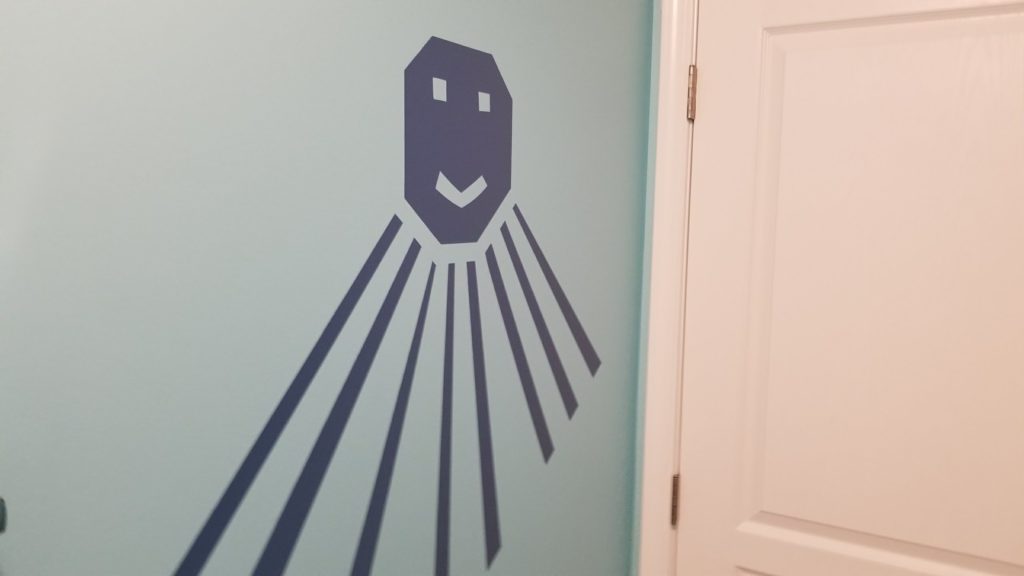
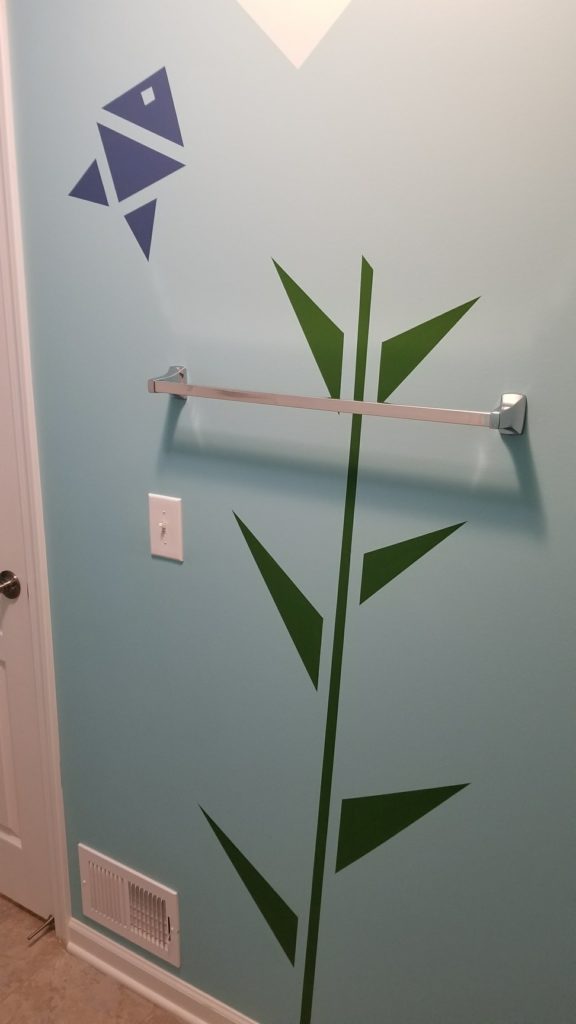
I decided go with straight lines with a few straight cuts. This helped with speed, but it also helped to keep the image within a general theme (pixel art-ish). I just free handed everything so everything would have a whimsical vibe to it. I wanted it to look like you were in the ocean, so I put waves across the top of the entire room and painted it with a sky color. I then added multiple fish, an octopus, and some seaweed.
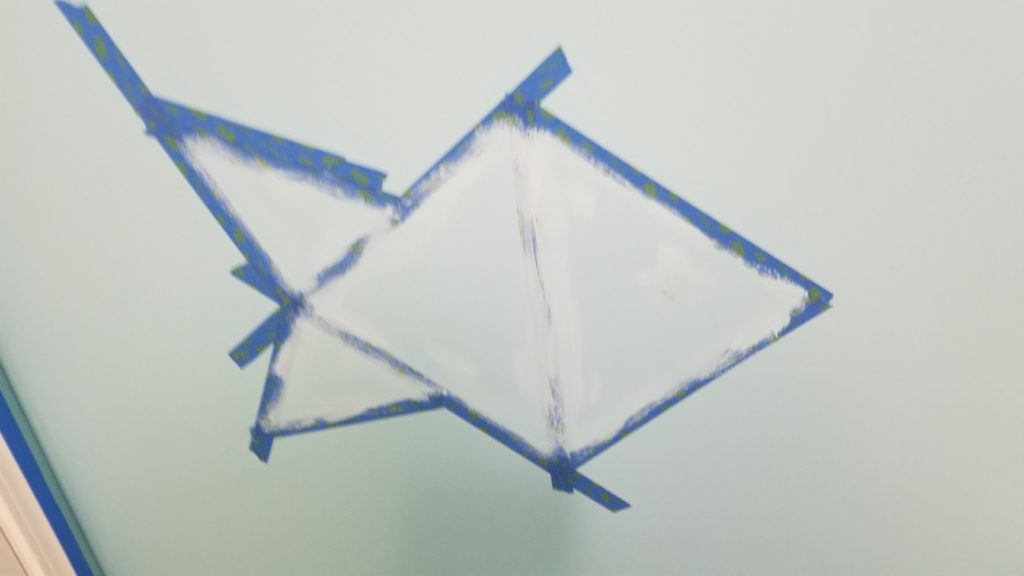
I’ll show you how the fish was created. The eye is cut out of a large piece of tape that I carefully trimmed down with a sharp razor blade. When cutting be careful to just cut the tape and not to plunge past the paper on the drywall (a little cut into paper is okay; it will be healed by the paint).
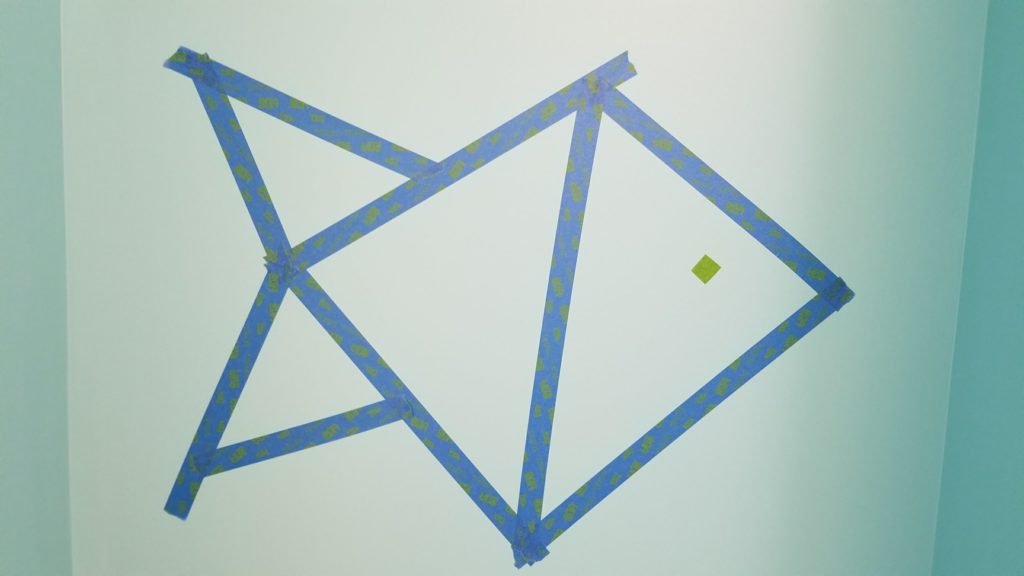
Once the shapes are all taped up, grab some of the same paint that is sitting underneath the paint (background in my case) and LIGHTLY brush the edges of the tape that will eventually mask off to the new color. This helps keep your final edges nice and clean by allowing any bleed through to happen in the same color, rendering it invisible. You can only put on so many layers of paint before the paint begins to ignore the tape and will tear where ever it wants to, so keep this first pass light. You should still be able to see the tape through the paint. This step may not be 100% necessary, depending on the quality of the tape you choose, but it only take a minute and can save a ton of cleanup time later.
Once dry, roll on your main color. Let this setup for an hour or so and then put on another coat (if needed). Remove the tape immediately while the paint is wet. It is far better to remove the tape early rather than waiting for it to dry solid. You don’t have to get burned too many times with paint latex paint forming a “bridge” over the edge of the tape before you get paranoid.

That’s it. Pretty simple. My son and wife were so excited…and then immediately started pointing out spots that I missed.
This is the first time I tried this technique and I was really pleased with the results. I think I will go back and add some robots to his bedroom when I have the time. I hope this inspires you to get creative!