Art From Cheap Stuff
When I moved into my first house and was confronted a ton blank, white walls that kind of creeped me out. I almost went and bought a bunch of cheap IKEA type prints to fill the void but this seemed like a lost opportunity to express myself. The only problem is that I had not yet figured out if I was any good at creating something that creeped me out less than the white walls. I really did not know where to start so I starting researching. Naturally, the first step is looking into artistic paint on canvas. Oil or Acrylic? What kind of canvas? Brushes? I looked around a bit and determined that fine art supplies get expensive fast. And there were all these techniques that had volumes of books written about them. It was intimidating. And was I confident enough in my abilities to avoid wasting all these art supplies? Who am I to think that I deserve to paint with those items? Those items are for REAL artists! Like the ones who study all those books.
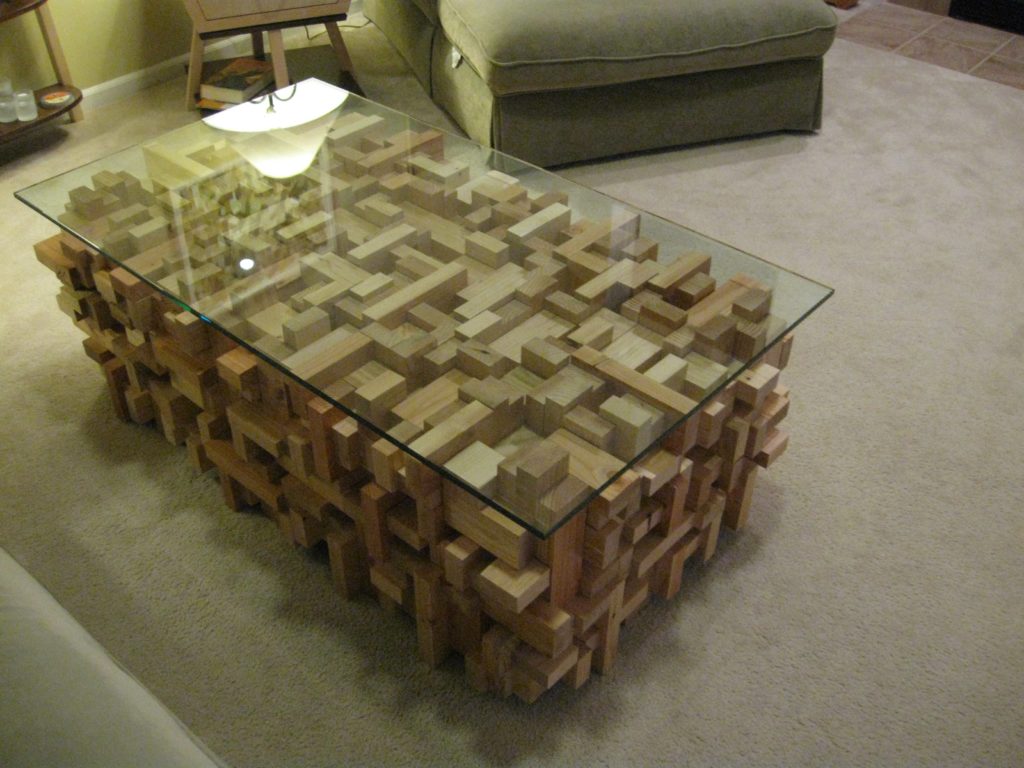
I can tell you that the fear of moving forward and “wasting” things kept me from creating for way to long. I had already become pretty adept at using cheaper building material to create furniture because of that same fear. Was I good enough to not waste that 2″ thick slab of walnut? Who do I think I am? So, I decided to use common available material to take away that fear and to just get moving. What I found, ironically, is that this restriction forced me to get creative with my designs. I mean, check out the 2X4 coffee table . Would you do that with solid maple? Probably not. But with 2X4’s, I had the freedom to just go for it. The end result causing anyone that enters my house to just stop and stare before asking where they can get one (uh…Home Depot!). I took a similar approach of just going for it when working on the Plywood Bench, which more great results. It is fun to try some new technique on forgiving, and cheap, materials. So I started to wonder if I should just approach non-furniture art in the same manner.
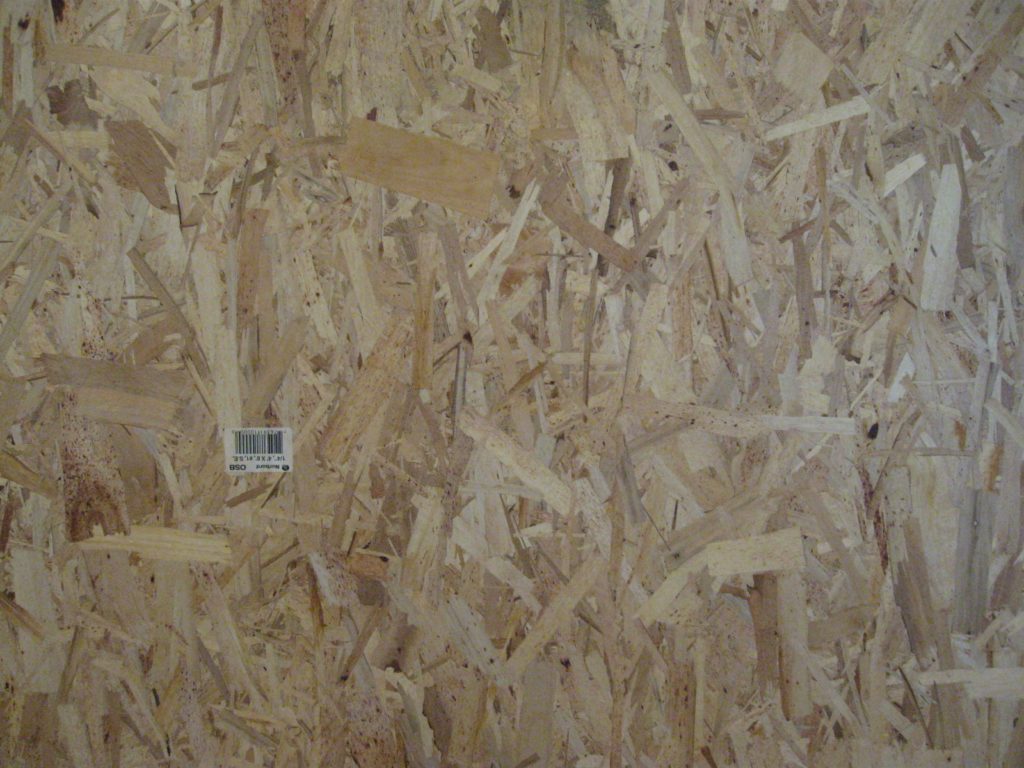
So I looked around the Depot and realized that OSB (Oriented Strand Board) had this cool, random look to it. This is a product that is always hidden by a better looking material, but I was curious how it would go if I tried to play up its awesomeness.
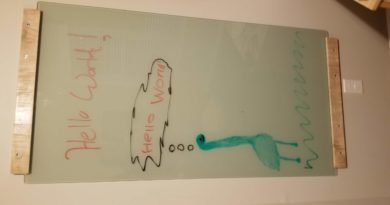
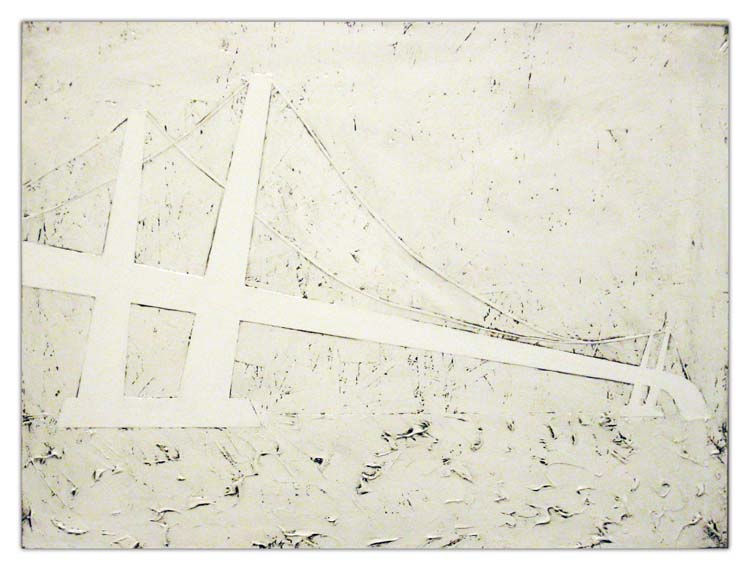
The painting below lets the OSB in the background shine through, accented by paint that was allowed to live inside the nooks and crannies. Here, I couple another standing building material, drywall plaster, to help accent the OSB. This stuff is dirt cheap and really versatile, especially if you start mixing it with other things. Adding a bit of white glue and paint gives you a product that can go on thick, can still be sanded and painted, and would dry stiff without cracking. In the “One Tree Hill” above, the OSB background was finished first and then painters tape (painter tape is to enginartists as duct tape is to…engineers. Stay with me here) was laid across the entire canvas. A razor knife was then used to gently cut away the negative space. A thin (as in the thickness of the tape) layer of gray plaster was then applied. Once dry, the plaster was sanded smooth. Then black paint was rolled on. Pulling off the tape while wet allowed me to clean up anything that got where it shouldn’t be. In effect, you end up putting a flat surface on the bumpy OSB to highlight whatever you are trying to highlight.

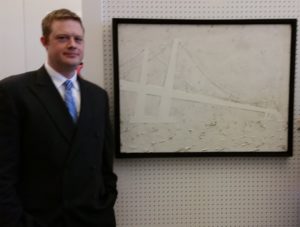
Another good example of this medium is Snowy Bridge, which was accepted into an annual art exhibition put on by my company. I, a humble creative engineer, won a spot in the show over some of the stupidly talented professional artists we employ. I was pumped to be invited to the unveiling of the gallery and grateful that I was getting recognition for something that I had been very timid to let out of my basement.
I also ended up using plaster for several purely abstract paintings without using the OSB as background. The painting below matches the paint scheme in my office at the time. The pictures don’t do it justice, but this particular piece would often cause me to stop and stare at it. There is about a 1/4″ of depth across the surface that allowed the layers of colors to hit the peaks and valleys randomly. I only wish I could remember exactly how I did it.

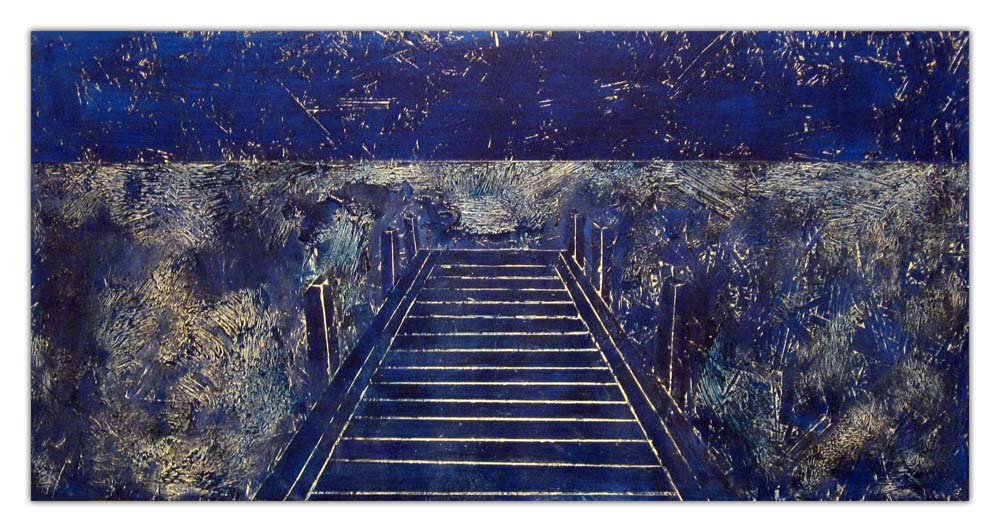
Here a paining employing all three techniques, with texture on the water, OSB in the sky, and flat areas for the dock.
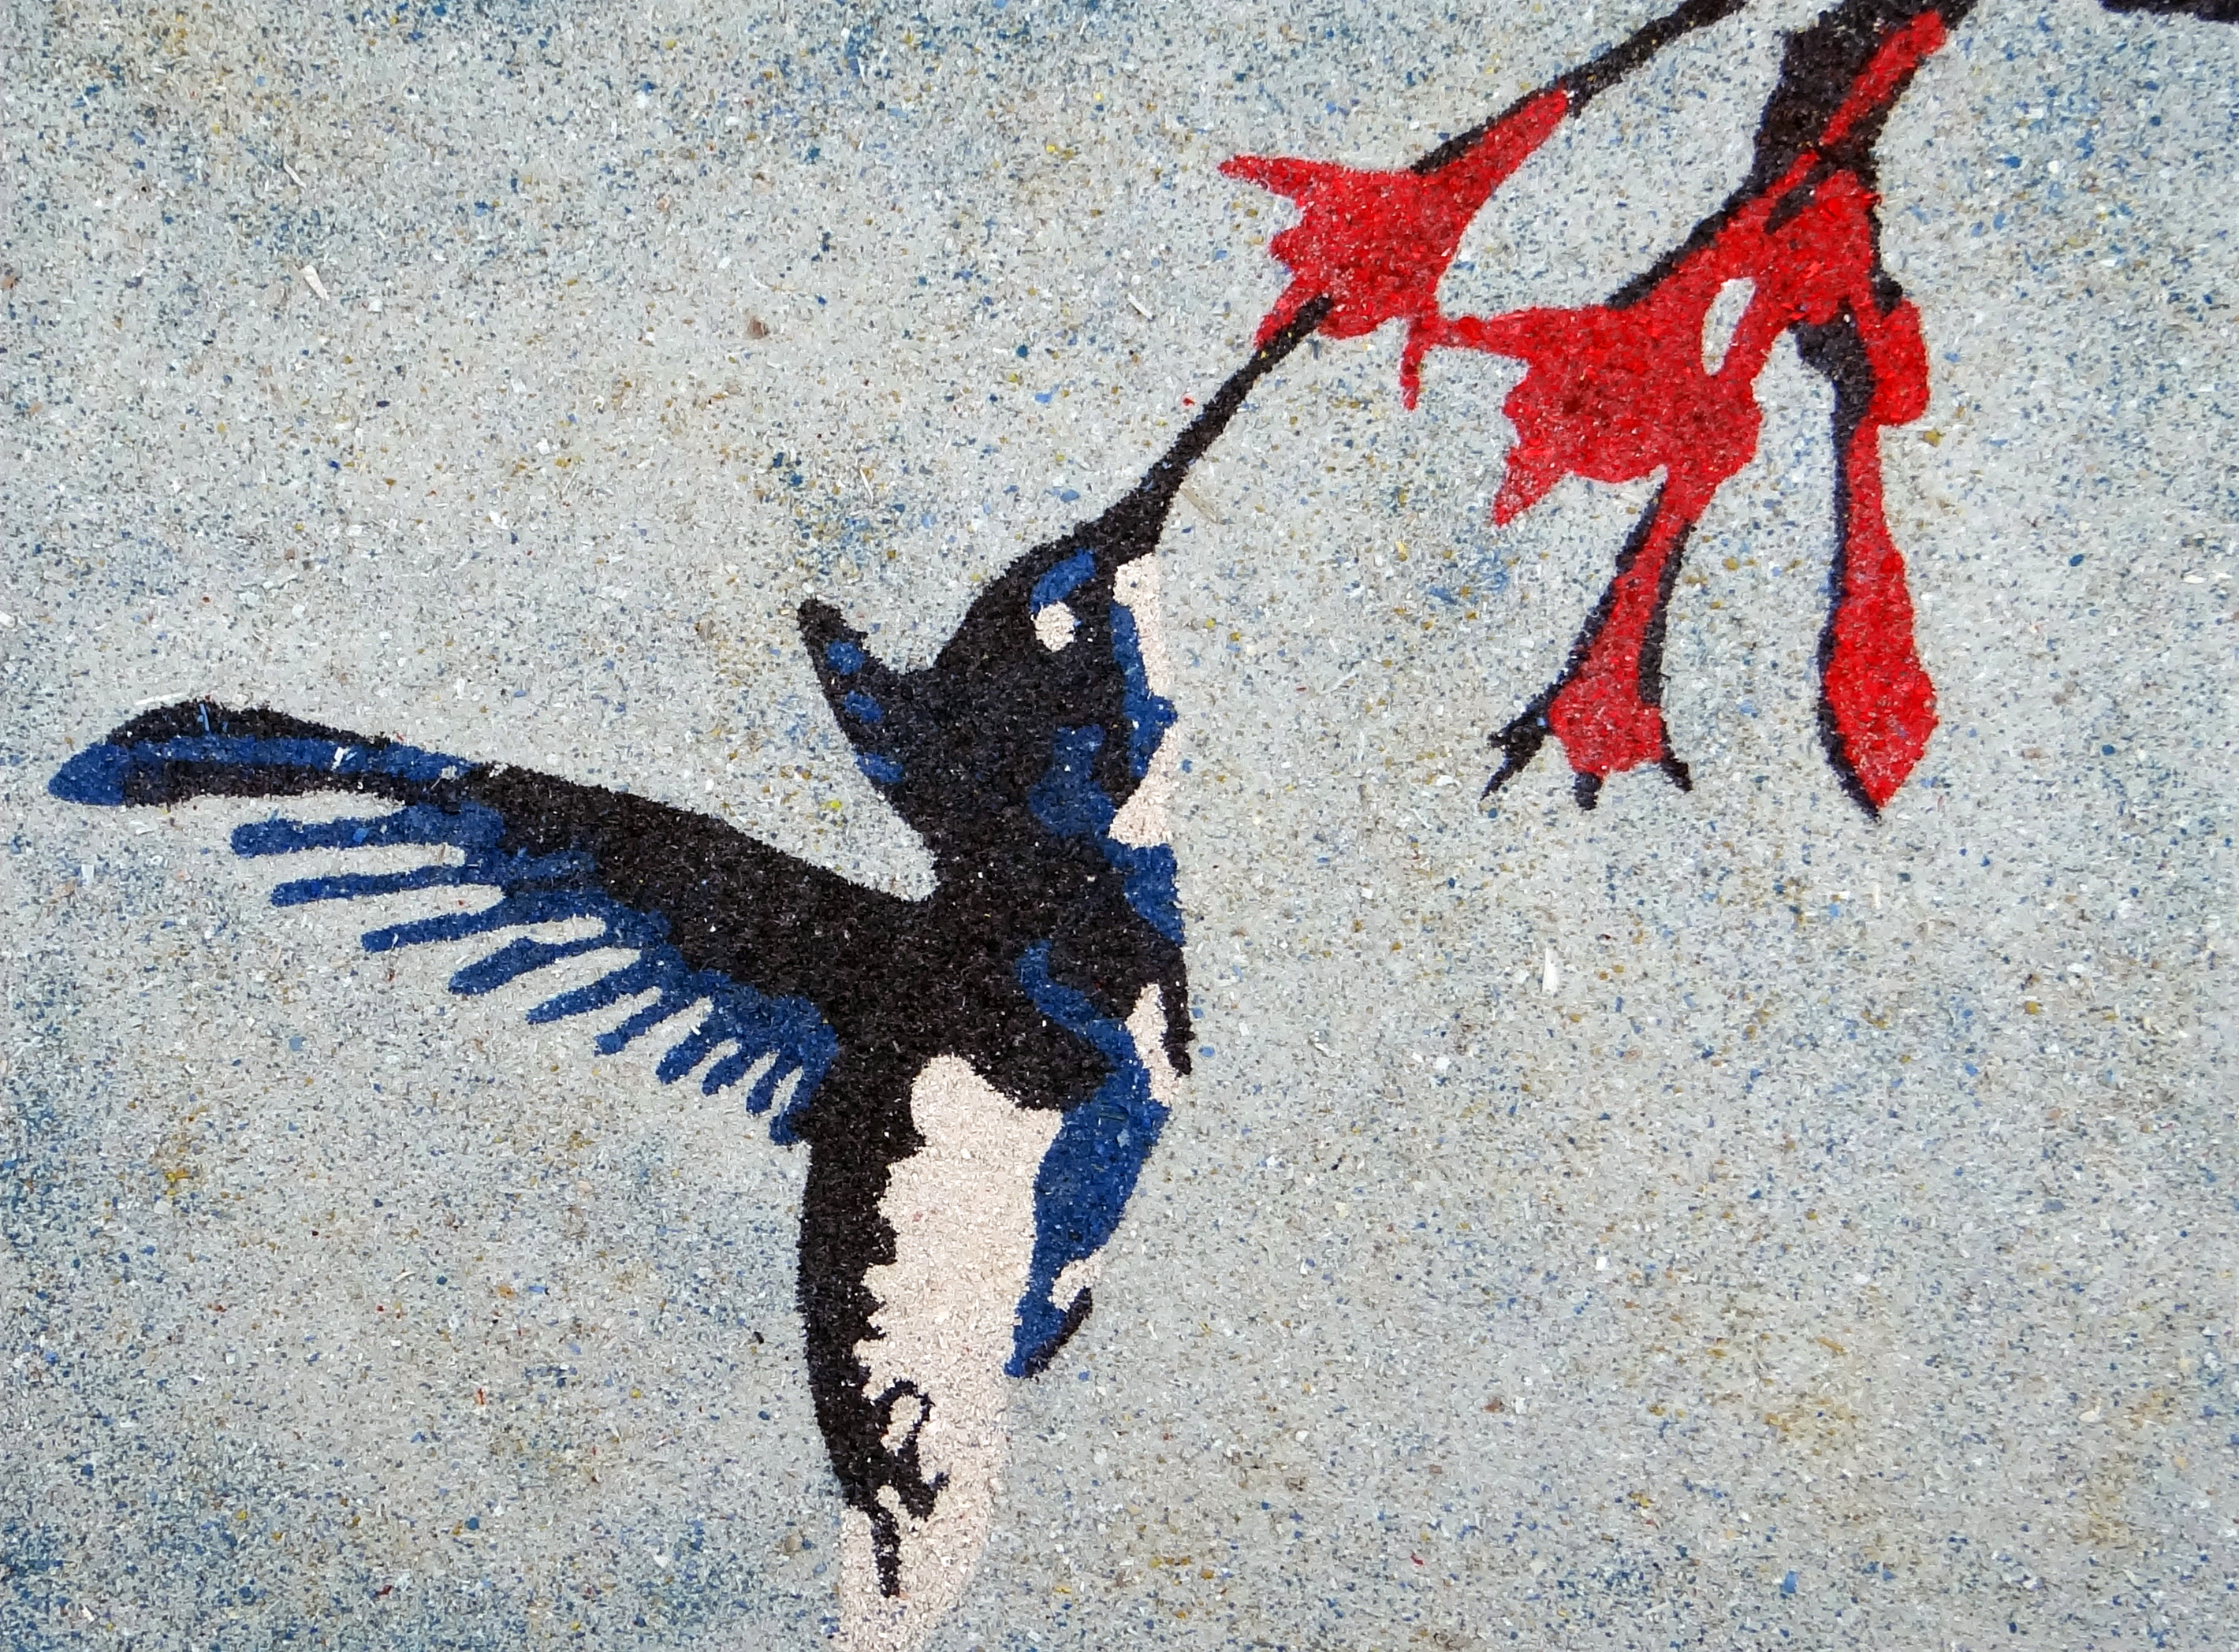
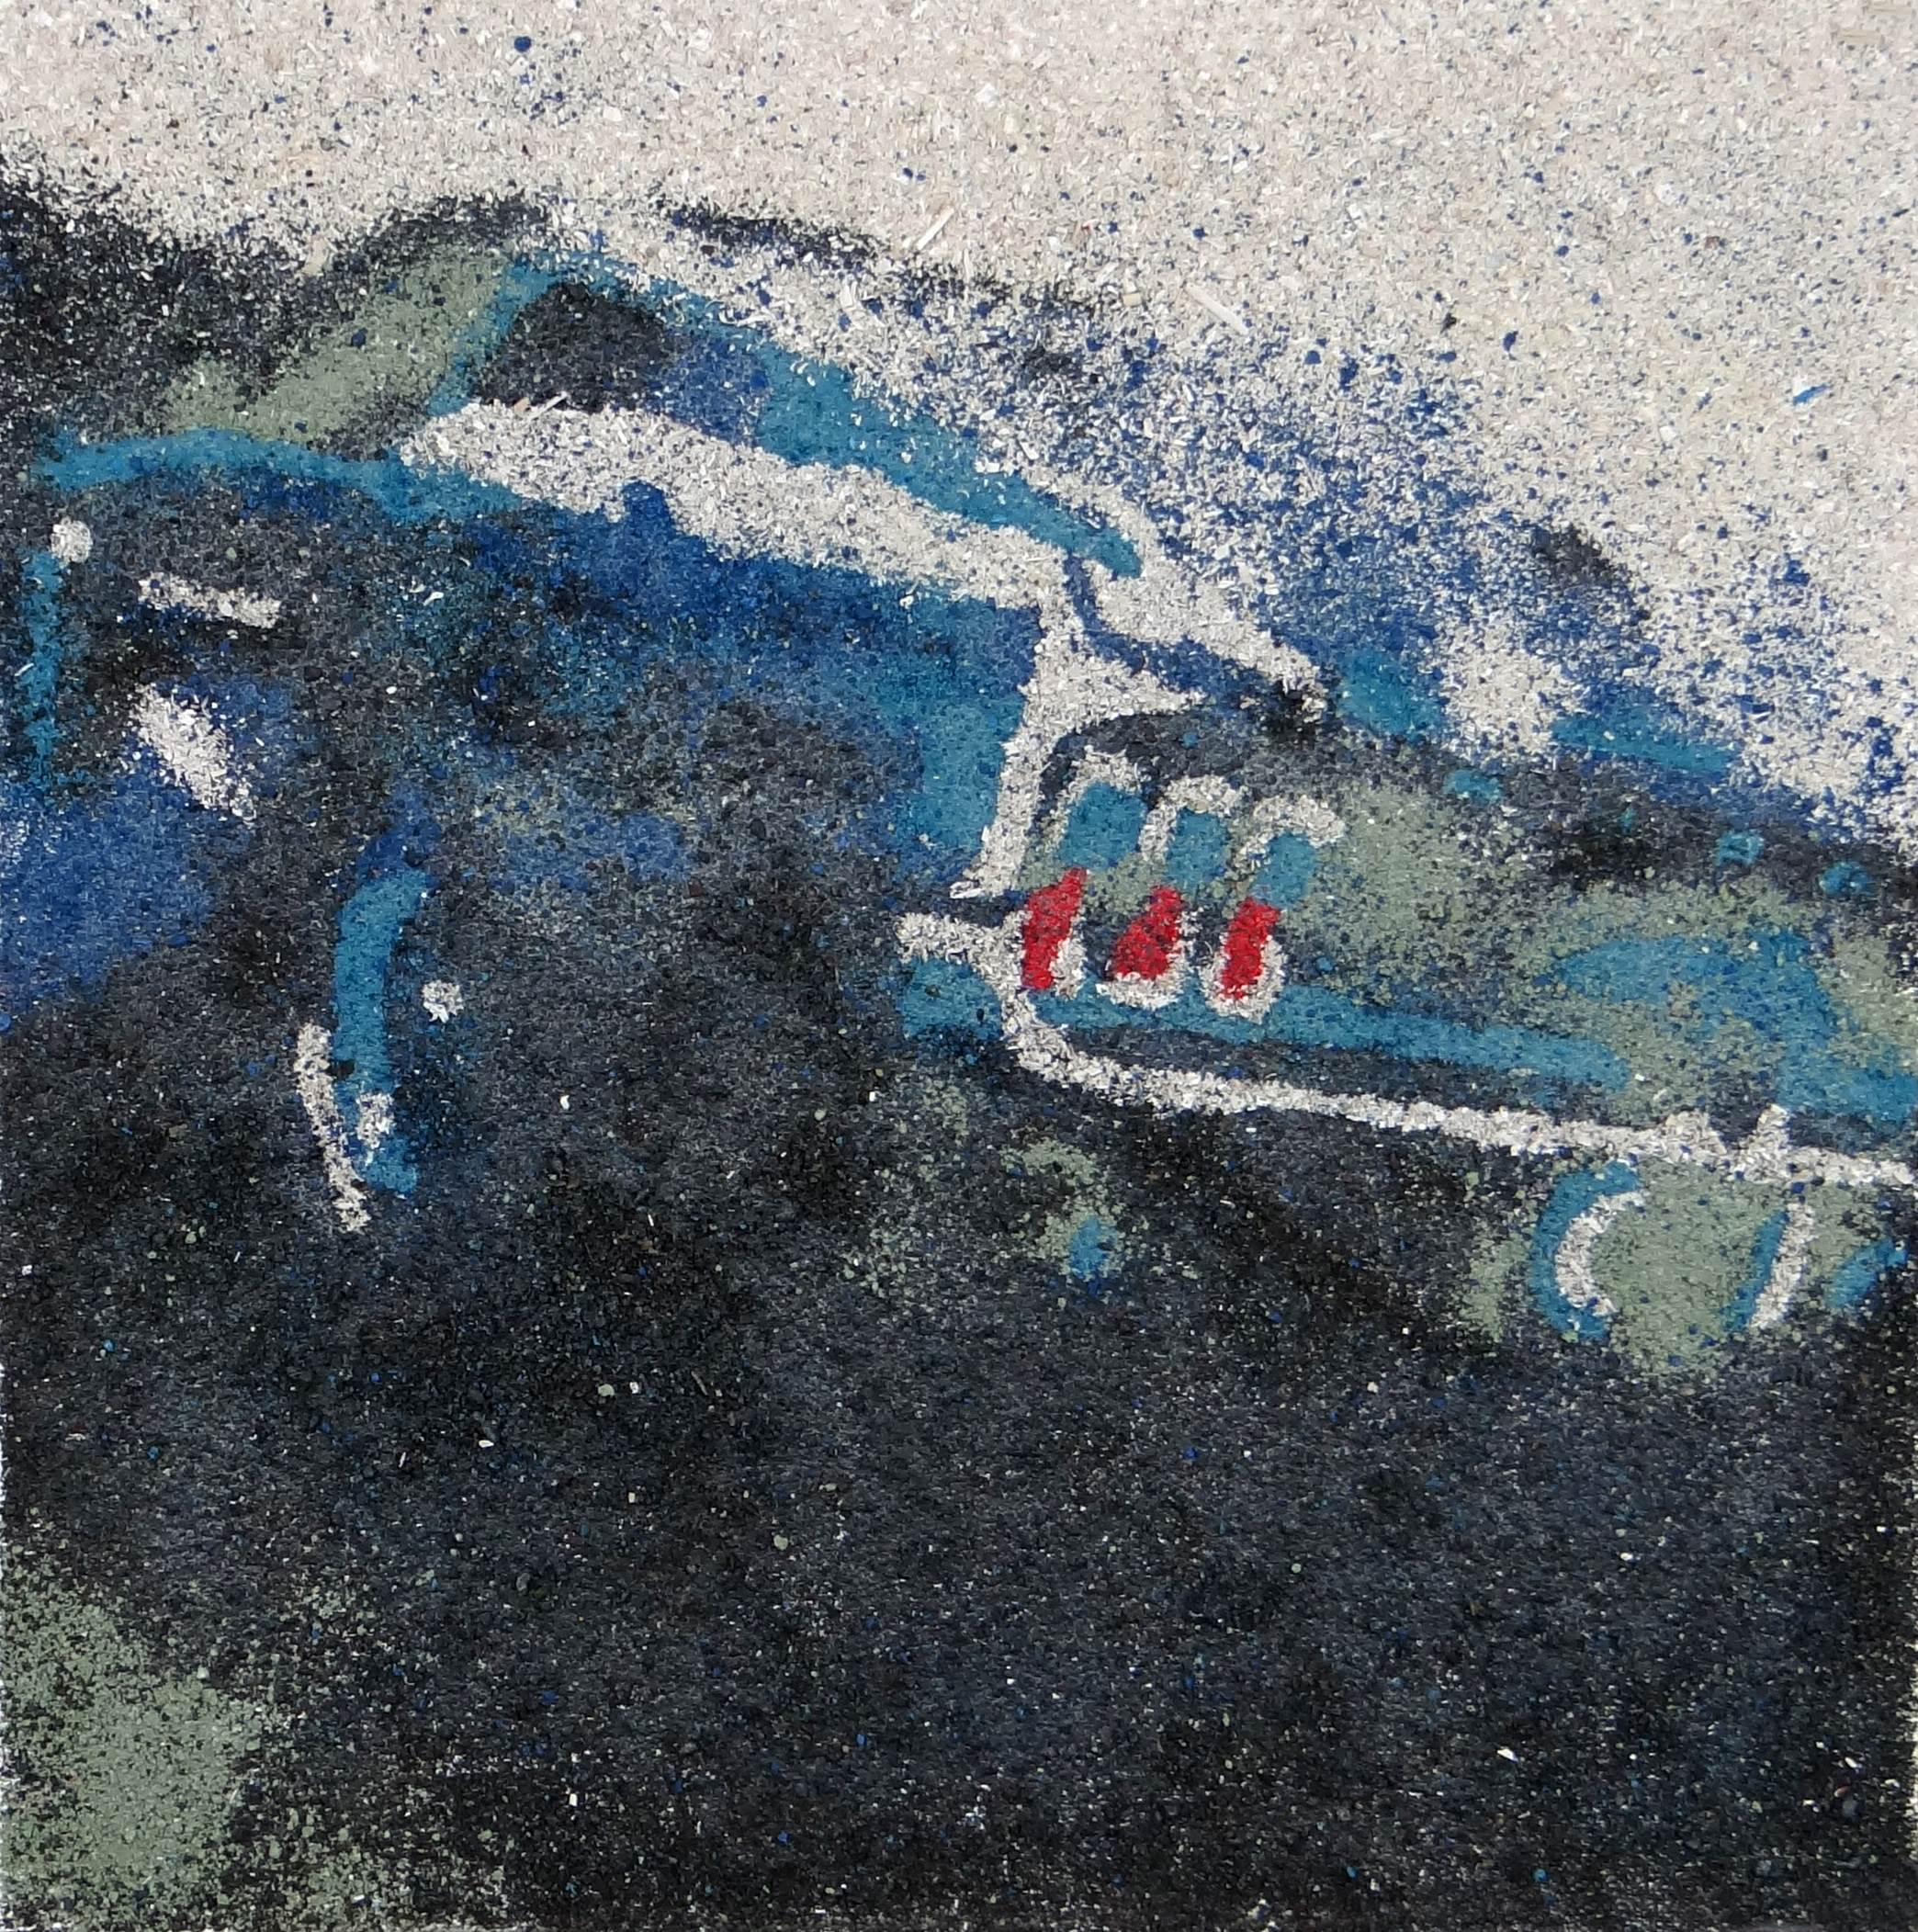
Lately I have been using sawdust and house paint to create art pieces that, again, rely on cheap/free materials to take away the fear of waste. I describe this process in detail over here.
There are more examples over in the gallery of the techniques above. I am excited to keep exploring other mediums that are just sitting on the shelf of my local big box store. I would love to hear what other Enginarts have come up with. Just remember to take notes and pictures while creating!